Tile Screed Explained: How to Get a Flat, Durable Base for Your Tiles
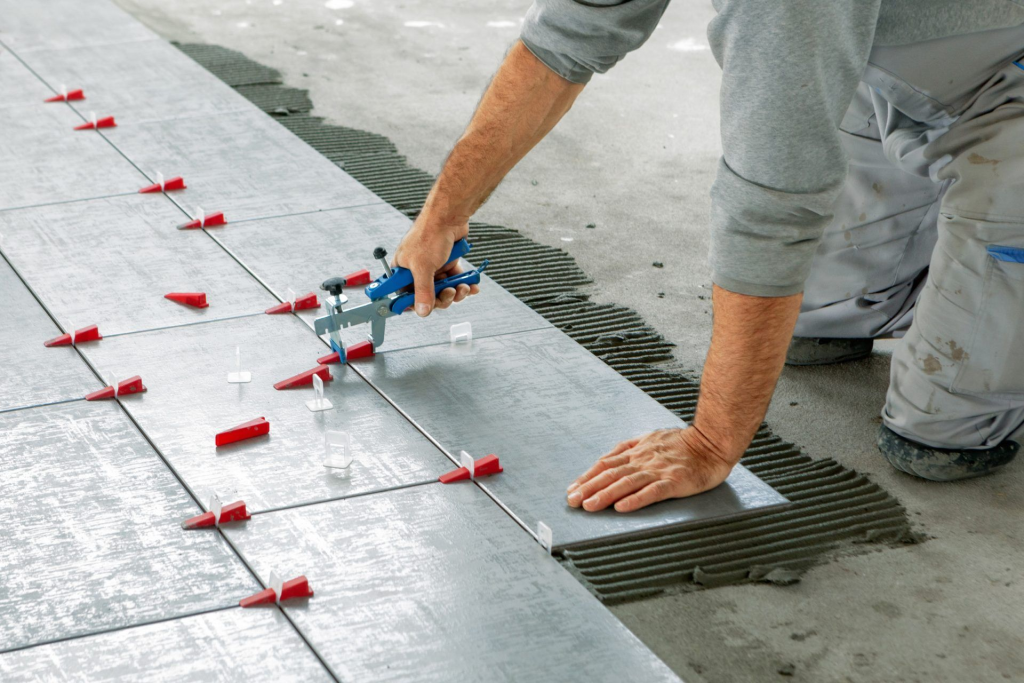
A beautiful tiled floor starts well before the first tile is laid. The real work happens underneath, and a properly prepared Tile Screed is what separates a floor that lasts decades from one that cracks, lifts or sounds hollow within a year. Whether you’re renovating a bathroom or building a new home, understanding this layer helps you make smarter decisions and avoid expensive repairs.
What Is a Screed Layer and Why Does It Matter?
A screed is a thin layer of sand and cement (sometimes with additives) spread over a concrete slab or subfloor. Its job is to create a smooth, level and stable surface for tiles to bond to. Even brand-new slabs often have dips, humps and rough patches that would show through finished tiles.
A well-laid screed offers several benefits:
- A flat surface, so tiles sit evenly with consistent grout lines
- Correct falls toward floor wastes in wet areas such as showers and balconies
- Improved bonding between the tile adhesive and the base
- A way to hide pipes, underfloor heating or minor structural imperfections
Types of Screed Commonly Used in Australian Homes
Not every job calls for the same approach. The right choice depends on the room, the substrate and your timeline.
Bonded screed is applied directly onto a prepared slab with a bonding agent. It suits areas where you want minimal height added to the floor.
Unbonded screed sits on a membrane or insulation layer. It’s thicker and ideal when you need to separate the screed from the slab, such as over underfloor heating.
Fast-drying screed includes additives that shorten curing time. It’s handy for renovations where you can’t wait weeks before tiling.
How Long Does Screed Take to Dry?
This is one of the most searched questions, and the answer matters. As a general rule, traditional sand and cement screed needs about one day per millimetre of thickness for the first 50 mm, then longer for anything deeper. Fast-drying products can be ready in a matter of days.
Drying time is affected by:
- Temperature and humidity in the room
- Ventilation and airflow
- Thickness of the layer
- The mix design and additives used
Tiling over a damp base is a common mistake. Trapped moisture can weaken adhesive, cause efflorescence (white salt marks) and lead to tiles popping loose. Always confirm the moisture level is acceptable before you start.
Common Mistakes to Avoid
Even experienced DIYers slip up here. Keep an eye out for these problems:
- Wrong mix ratio: Too much sand weakens the screed, while too much cement increases the risk of shrinkage cracks.
- Poor surface preparation: Dust, oil and loose material stop the screed from bonding.
- Rushing the cure: Walking on it or tiling too early compromises strength.
- Ignoring falls: In bathrooms, incorrect slopes lead to pooling water and mould.
Should You Hire a Professional?
If you’re confident with a trowel and the area is small, a DIY approach can work. However, getting a large floor perfectly level takes skill, the right tools and plenty of practice. In wet areas, errors can lead to waterproofing failures that are costly to fix. A qualified tradesperson will check levels, set correct falls and ensure the mix suits your project.
Frequently Asked Questions
Can you tile directly onto a concrete slab without a screed?
Sometimes. If the slab is already flat, clean and sound, tiles can be fixed directly. In most cases, though, a screed corrects unevenness and creates a better surface.
How thick should the layer be?
Bonded layers are typically 20 to 40 mm, while unbonded layers usually need at least 50 mm for strength.
Final Thoughts
Getting the base right is the smartest investment you can make in any tiling project. A quality Tile Screed saves time, protects your tiles and delivers a finish you’ll enjoy for years. Take the time to plan the layout, allow proper curing and, if in doubt, seek expert advice before you begin.